• Home

ClinicSoftware.com Knowledge Base ClinicSoftware.com Knowledge Base

ClinicSoftware.com Knowledge Base

  • HOW IT WORKS
    • Software Features
    • Marketing Features
    • Online Booking
    • Paperless Features
    • Photo And Draw Features
    • Tracking Features
    • Sell Cycle Features
    • Fully Responsive Features
    • Business Reports Features
    • Automated Features
    • Reminders Features
    • Apps Features
    • Multi Location Features
    • Add-Ons
  • WHO IT’S FOR
  • MARKETING
  • MORE
    • Support
    • Find-Us
    • Migrate To ClinicSoftware
    • How We Provide Training
    • Partner With Us
    • Academy
    • Support Chat
    • Blog
    • Editions
    • ClinicSoftware.com TV
    • GDPR
    • ICD-10 Database
    • PCI-DSS Compliant
    • Cloud Hosting
    • Latest UK Shows
    • UK Press
  • Modern Edition
  • CLOSE / RETURN TO SOFTWARE
Home Knowledge Base 4. DAY BOOK 10. APPOINTMENT IMAGES

10. APPOINTMENT IMAGES

27th January 2017 Posted in: 4. DAY BOOK Hits: 67


The “Appointment Images” feature lets you track the treatment evolution by keeping a record of the before and after images of the treated area.

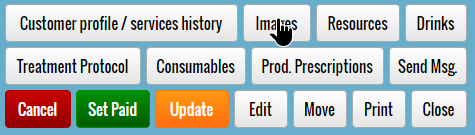
You can access the appointment images feature by pressing the “Images” button from the “Appointment Details” window.

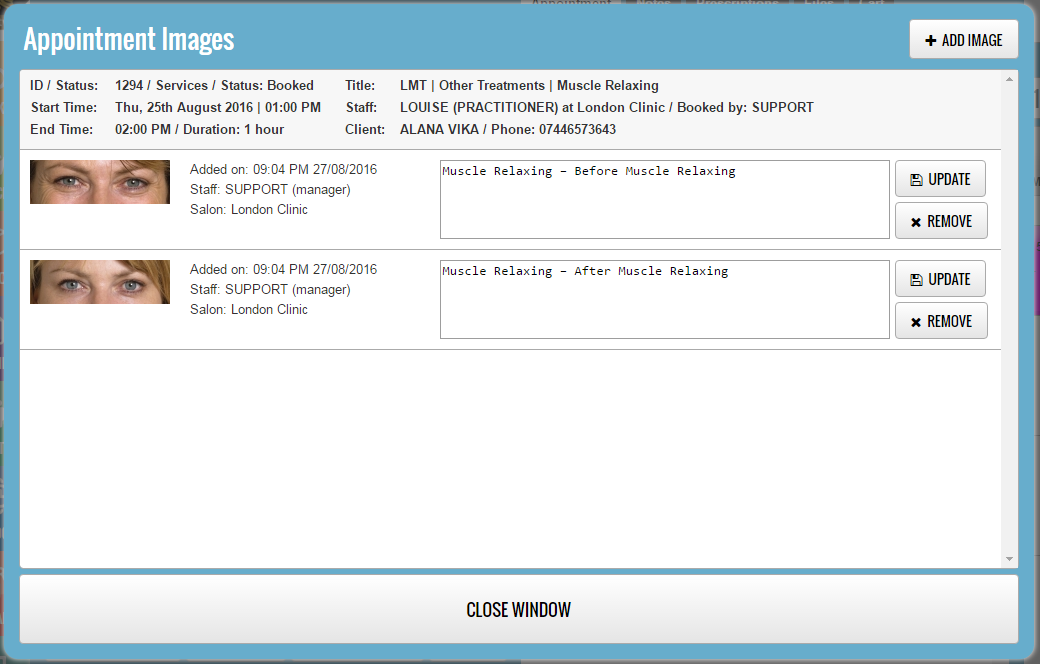
The “Appointment Images” window is divided into 2 sections:

  • Top section containing the appointment and client details
  • The appointment images list

To add a new entry, press the “ADD IMAGES” button (top right):

You can add images in 2 ways:

  • Uploading the image from your computer.
  • Using your Webcam (capturing the output of the webcam)

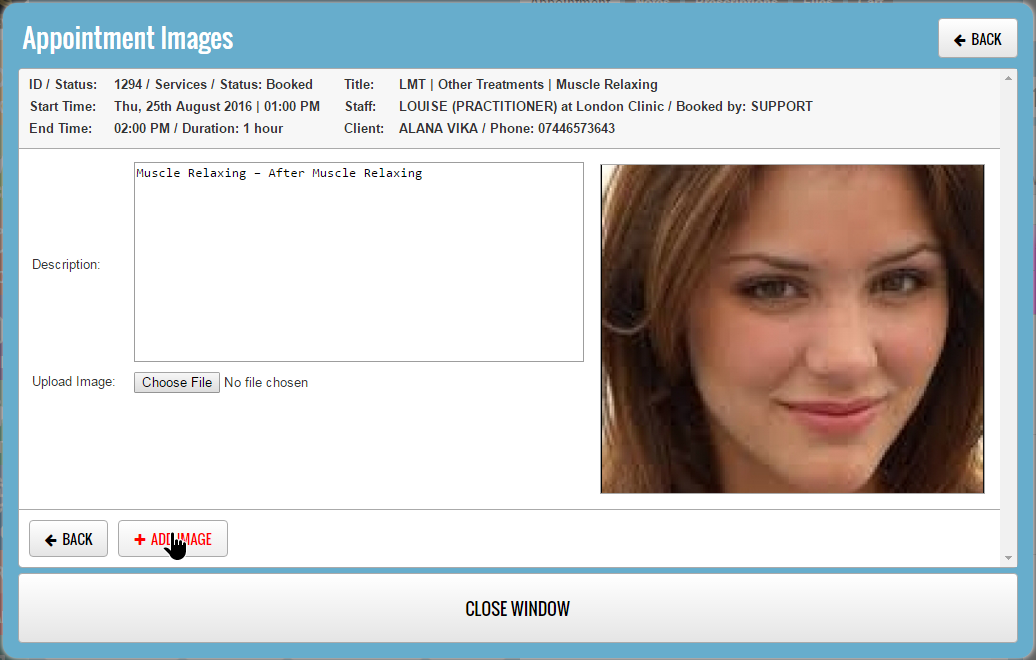
Adding Images by file upload:

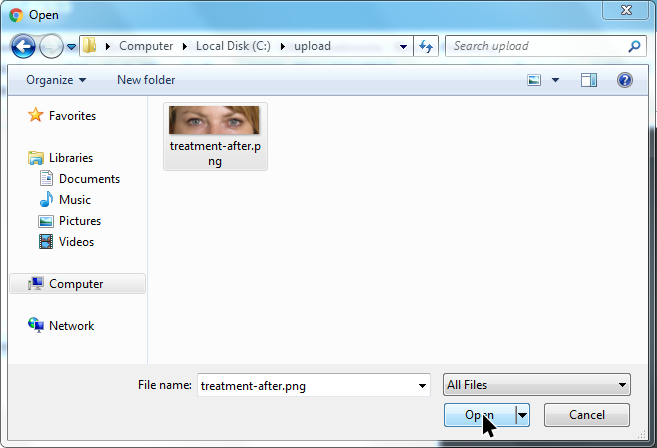
Press the “Choose File” button to open the file browser on your computer.

Navigate to the file that you wish to upload, select the file and then press the “Open” button.

Enter the Image Description and then press the “ADD IMAGE” button.

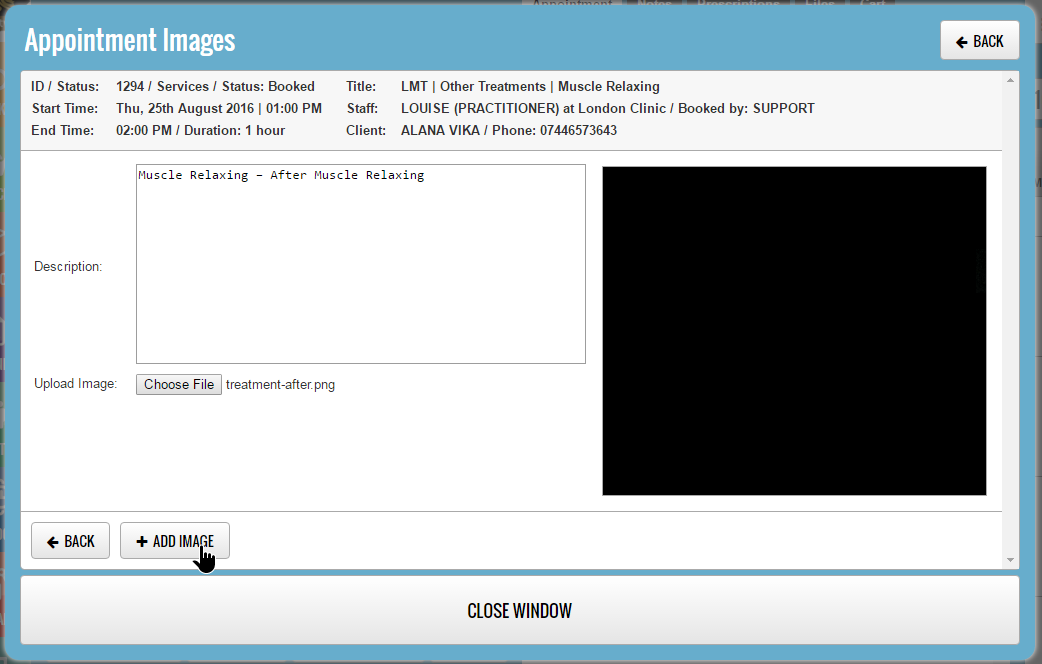
When specifying a file to upload by using the “Choose File” button, the webcam preview will be ignored.

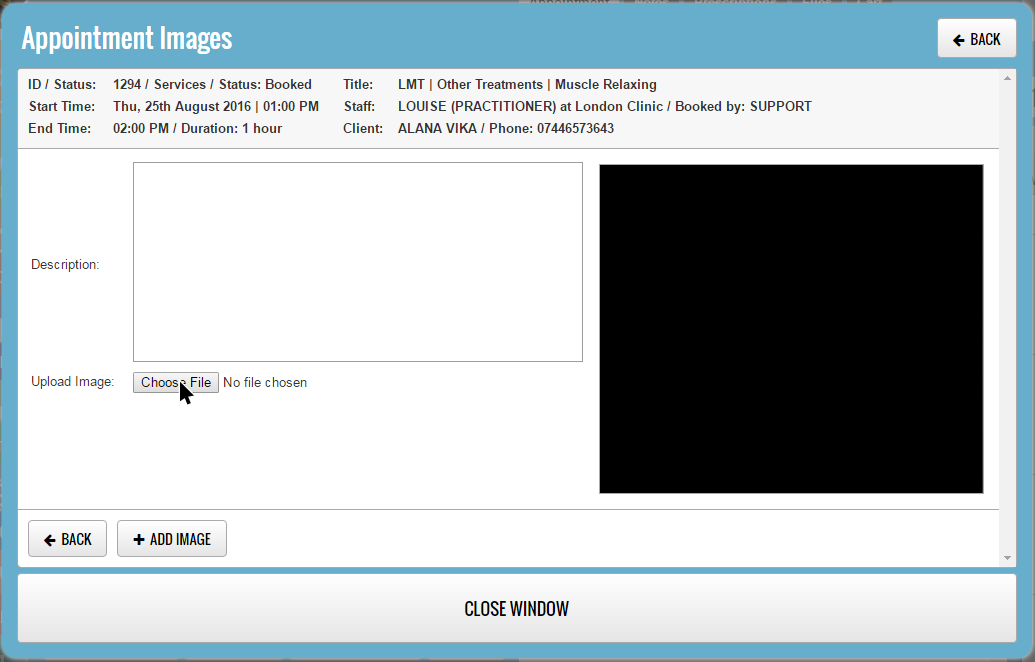
Adding Images using the webcam:

Enter the image description, using the webcam preview section when satisfied with the result press the “ADD IMAGE” button.
The image presented in the preview section will be captured and saved automatically.


Knowledge Base Related

  • 01. DAY BOOK
  • 02. BOOKING A SERVICES TYPE APPOINTMENT
  • 03. BOOKING A COURSES TYPE APPOINTMENT
  • 04. BOOKING A PATCH TEST TYPE APPOINTMENT
  • 05. APPOINTMENT DRINKS
  • 06. APPOINTMENT RESOURCES
  • 07. ADDING BUSY TIME ENTRIES
  • 08. EDITING OR REMOVING BUSY TIME ENTRIES
  • 09. APPOINTMENT DETAILS WINDOW
  • 11. APPOINTMENT TREATMENT PROTOCOL

© 2017 ClinicSoftware.com