In order to add a “Marketing Campaign”, the first thing that you need to do is to make sure that you have already created these few things:
- Marketing Automation
- Clients List
If you haven’t create those already, not to worry, check section 9.2 part 1 and 5 where we teach you how to create a marketing automation as well as a clients list.
If you have already created a marketing automation as well as clients list, press on the blue button labelled “Marketing”:
![]()
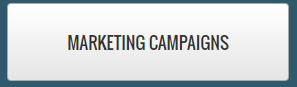
After you have pressed the “Marketing Button” select the option which is labelled “Marketing Campaigns”:
You will be taken to this page where you will be able to see all of your current marketing campaigns as well as their status:

In order to add a new marketing campaign, press the green button labelled “Add New”:
![]()
Once you have pressed the green button labelled “Add New”, you will be taken to this page where you will be able to create your marketing campaign:
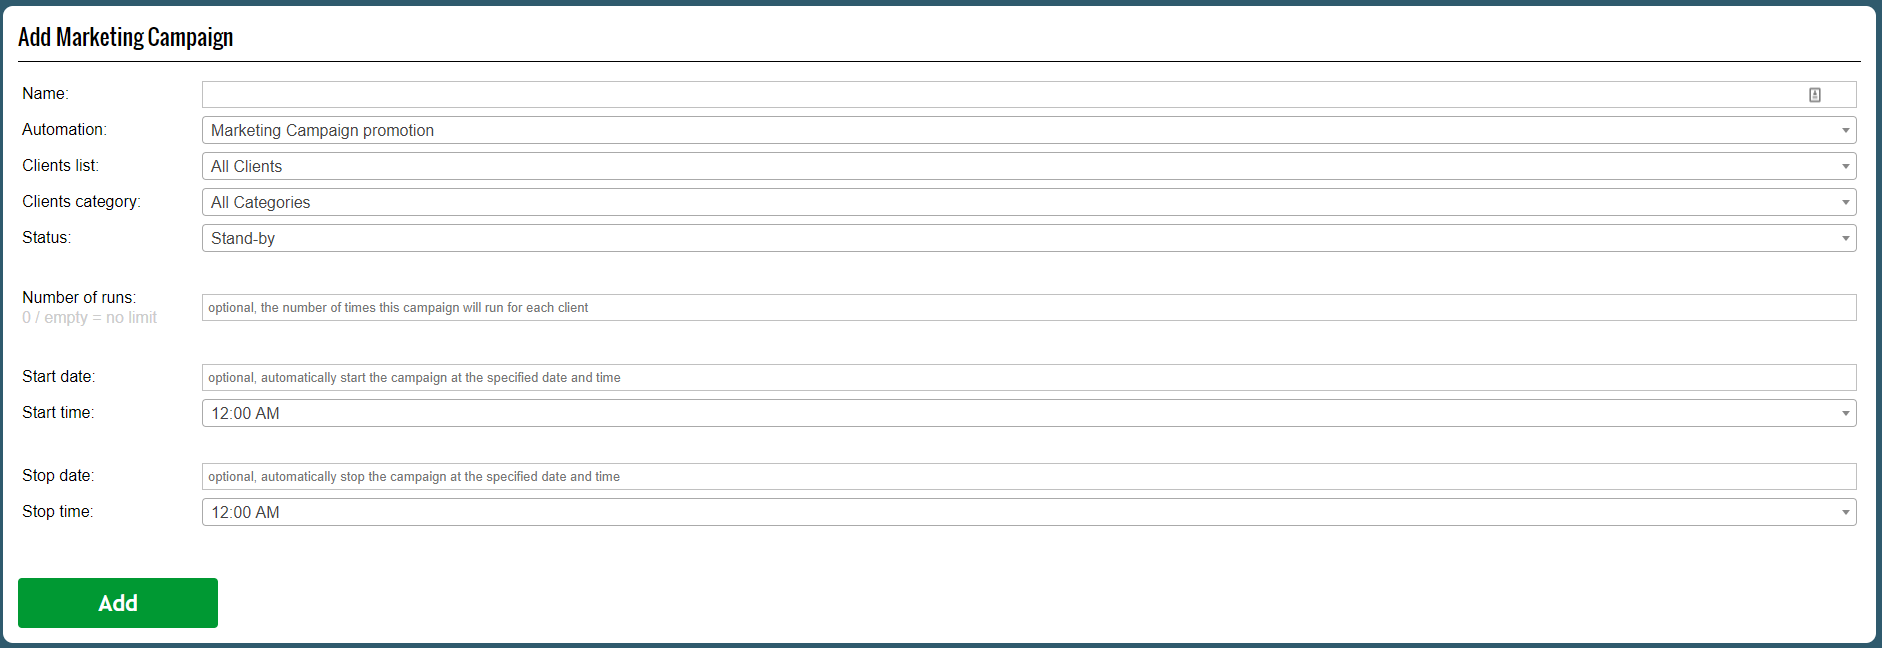
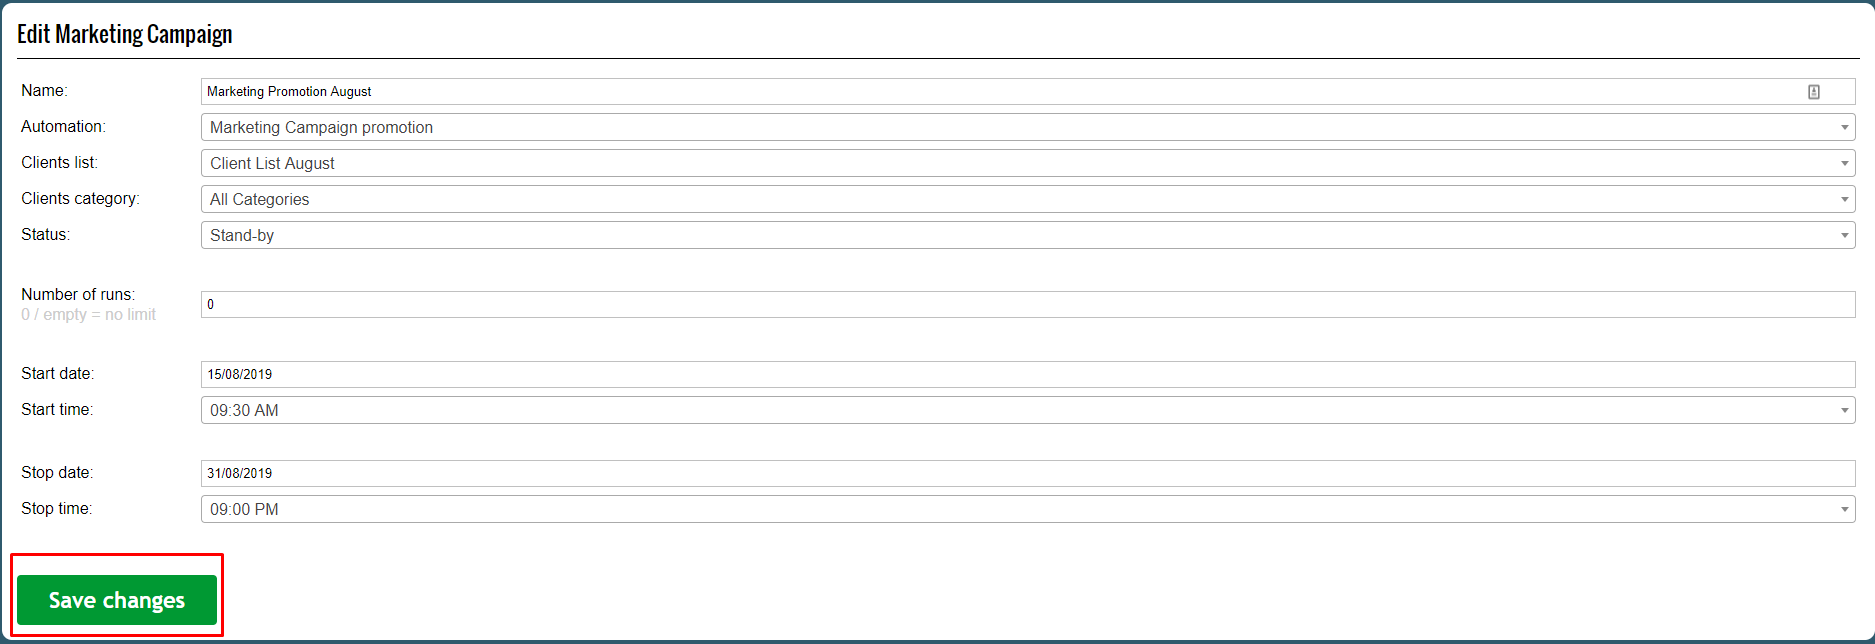
Fill in those fields accordingly:
- Name : Enter the name of your marketing campaigns
- Automation : Select the automation that you want to use from the drop-down menu (go to part 1 if you have’t created one already)
- Clients List : Select the clients list that you want to use from the drop-down menu (go to part 5 if you have’t created one already)
- Status : We have 3 different statuses. The first status is stand-by. If you select stand-by, the marketing campaign will only start on the “Start Date”. The next status is started. If you select this option the campaign will start to run immediately after you add it. The last option is stopped. If you select this option the campaign will not start until you press the start button from the marketing campaigns list.
- Number of runs : Enter the number of cycles that you want your automation to be repeated for. If you leave it empty the cycle will repeat itself until you stop it.
- Start Date : Enter the start date when you want your campaign to start if you have selected the stand-by option
- Start Time : Enter the start time when you want your campaign to start if you have selected the stand-by option
- End Date : Enter the end date when you want your campaign to end.
- Start Date : Enter the end time when you want your campaign to end.
Once you have completed the fields using the guide above, press the green button labelled “Add”.