
In order to create a new task, you will need to access the “Tasks” feature by clicking on this button:
![]()
Once you have pressed on the “Tasks” button this menu will open up:
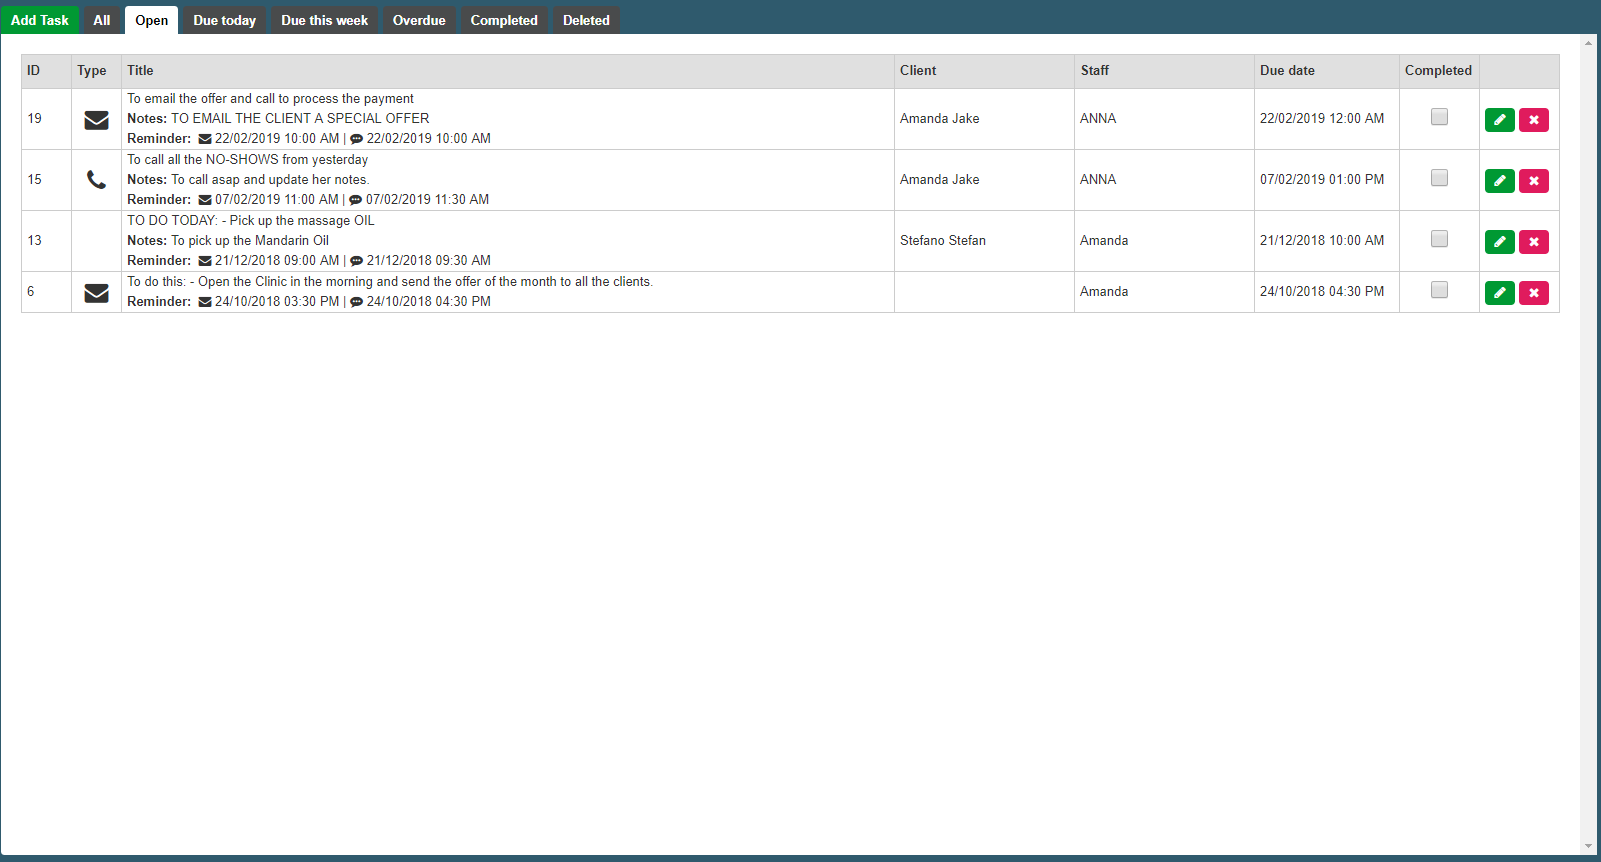
From there press the green button labelled “Add Task” in order to add a new task:
![]()
Once you have pressed the “Add Task” button you should be greeted by this menu:
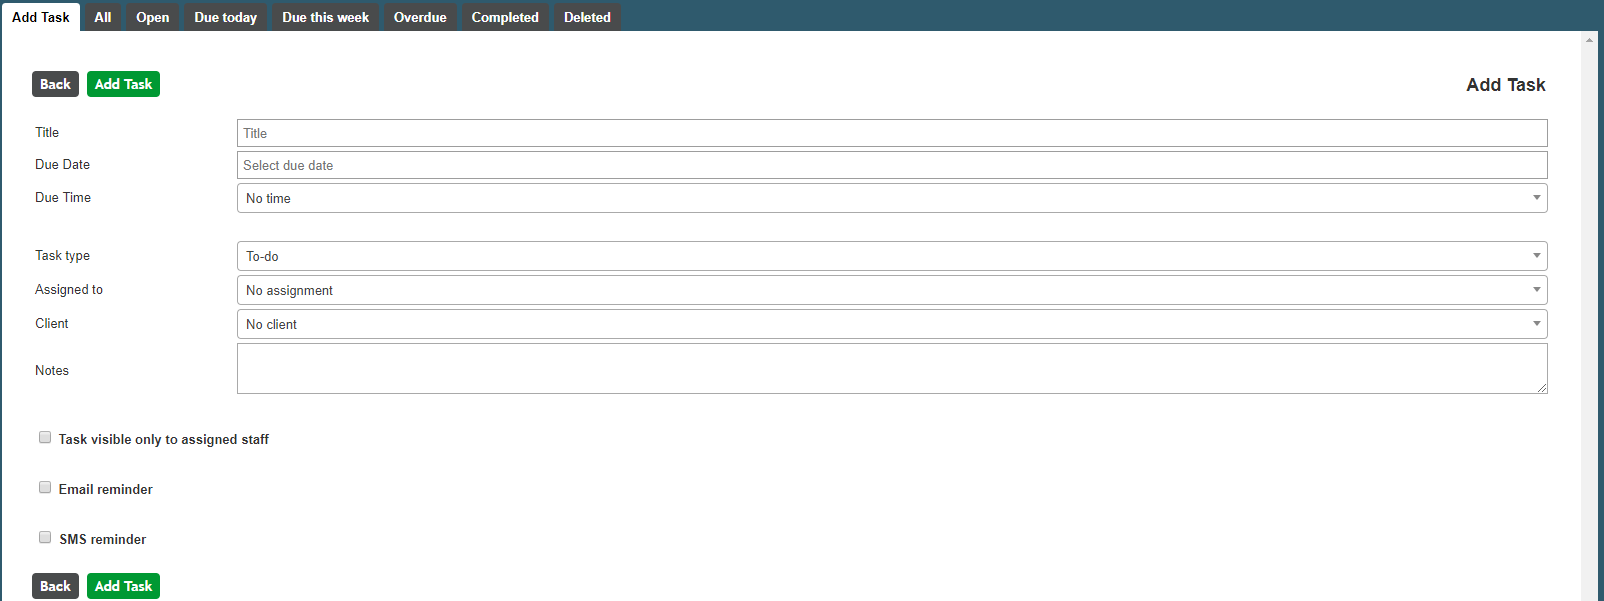
Fill in those fields accordingly:
- Title : Enter the name of the task.
- Due Date : Select the due date of the task.
- Due Time : Select the due time of the task.
- Task Type : Select the type of the task from the drop-down menu.
- Assigned to: Tasks can be assigned to different members of staff or they can have no assignment. By default, tasks are no assigned to members of staff, however in order to assign a task to a member of staff, click on the field and from there you have a drop-down menu as well as a search bar where you can search for the person that you want to assign the task to.
- Client: Tasks can be created for clients. Select the client for which the task needs to be completed by clicking on the field and searching for the client.
- Notes (Optional) : In here you can add any additional notes that you have regarding the task.
Once you have completed the fields, at the bottom you have 3 different check-boxes. Ticking the first check box will make the task visible only to the member of staff that the task has been assigned to. You can tick the other 2 check boxes if you’d like for the member of staff to receive SMS/Email reminder about their task. Please note that if you tick either “Email reminder” or “SMS reminder”, a new field will appear where you will be able to set the time when you would like to receive the reminder.
Here is an example of a completed task:
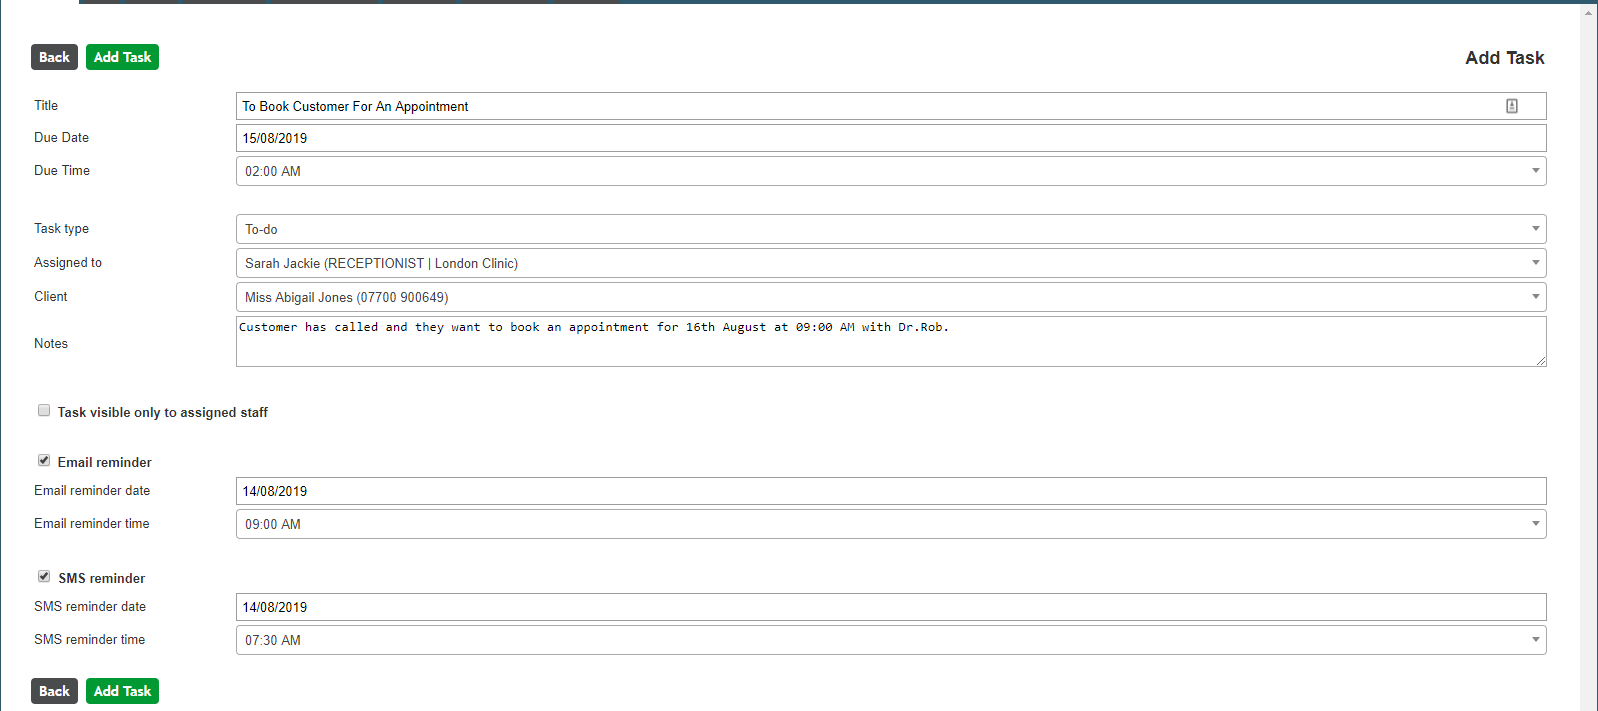
In order to add the task, simply press the green button labelled “Add Task”.